Part 1: May 2024
Have a near black thumb with little gardening experience and want to start a vegetable garden anyway?
Me too. 😊
I’ve researched how to make it as easy as possible (hello self watering pots!) to get a bountiful harvest this first time around. I’ve checked varieties of vegetables and chose ones that are known for high production so we can get the biggest bang for our time and energy.
This step-by-step beginner’s growing guide takes the guesswork out of planting a first bountiful harvest of: tomatoes, zucchini, peas, lettuce, and herb medley (rosemary, basil, cilantro).
We chose these varieties because they are easy to grow and the vegetables are ones we typically like to make go-to recipes. The herbs can be used for so many dishes that we often wish we had them on hand. Additionally, the herbs will complement the vegetables by adding flavor to dressings and marinades that will pair well with a variety of main entrees.
With quick instructions, easy-to-grow vegetables and herbs, and watering plans to get us started, only minor decision making is needed to try to grow your own food!
Ready or not here we go!
Let’s Dig In!
Step 1: Gather the Following Materials.
Let’s make this easy! Container sizes, soil, and vegetable varieties have been planned so you have all the materials you need to start a vegetable garden. These items were chosen based on the way the plants grow vertically and how the root system spreads so you get the best possible chance of harvest.
We’ve also taken into consideration watering options and you’ll see that noted with “Self-watering Option”; these self-watering pots opt for a less frequent watering schedule to help with busy lifestyles that may not want to water every day.
With container-style gardening, there is less concern about the best time to start a garden because we aren’t relying on the ground to thaw. It also matters less what plant zone you are in because the plants chosen have a wide variety of temperatures they will do well in.
The following materials can be found at big box stores like Target or Home Depot. Click on the link for easy Amazon links to these items.
| Item | Traditional Option | Self-Watering Option |
| 4 large round pots | 4 pack large 12” pots | 3 pack large 12” pots; 1 White 10” pot |
| 1 window sill pot | 18” rectangle, plastic pot | 16” oval |
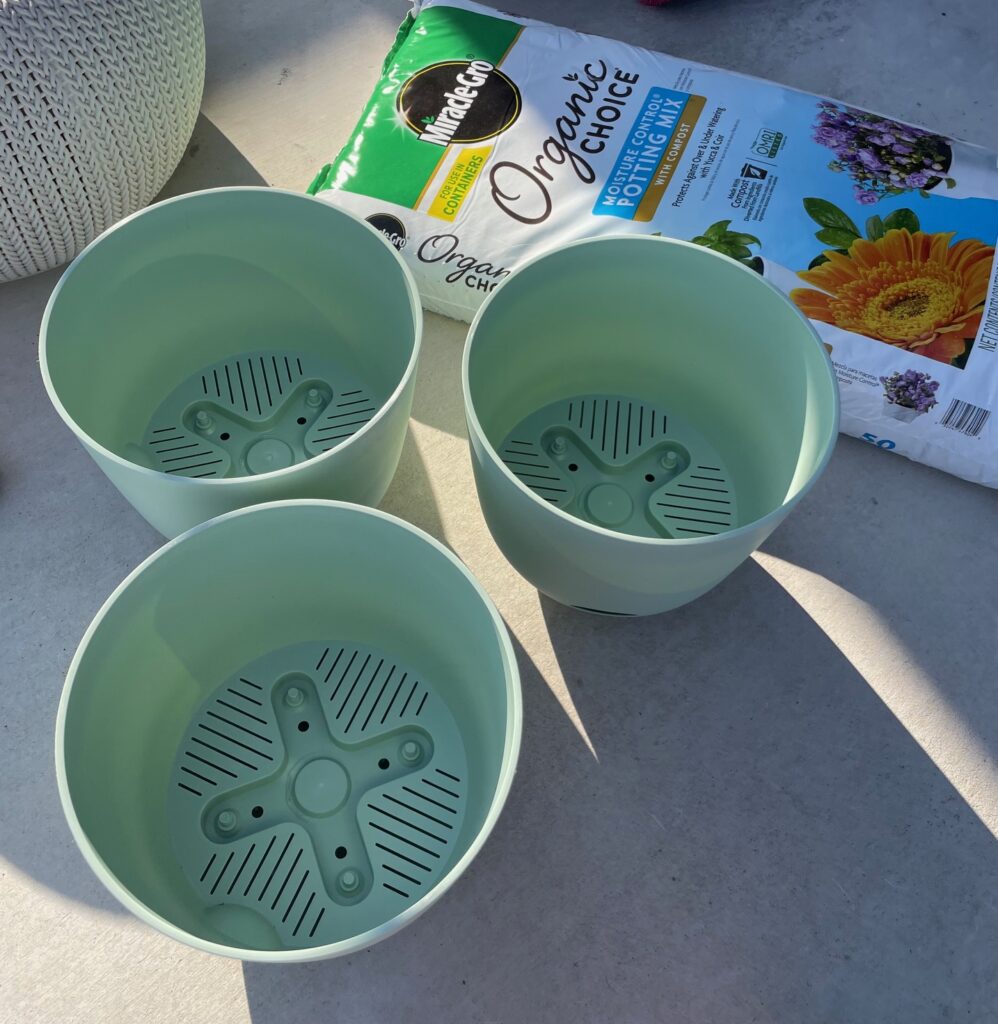
Also, found this great soil option at Costco. One bag is perfect for all the pots.
Once you get the pots, grab a couple of bags of potting soil. This may be easiest at the physical store because the shipping for these are not always free. Also if you get too many, it’s easier to return them at a Target then try to ship them back through Amazon. However, if you prefer getting it shipped to your door, here is a potting soil option.
Seeds: Getting these online is the quickest option as many stores may not have the right variety or have them in stock.
| Vegetable & Herbs | Variety | Days to Harvest | Info | Size |
| Tomatoes | Jet Star | 72 | Known for high production, grows well in many climates, disease resistant, crack resistant, and taste great | 8 oz size (smaller than a beefsteak tomato, but not by much) |
| Zucchini | Black Beauty Heirloom | 50 | Also known for high production, quick germination, and easy to grow | ~8 in. long |
| Peas | Sugar Daddy Sugar Snap | 65 | This type does not require a trellis, are sweet, and are disease resistant. | 3 in pods |
| Lettuce | Valmaine Romaine | 75 | Big leafy greens great for Caesar salads, tolerance for cold and heat, and a good “cut and grow back” vegetable | 8 to 12 in |
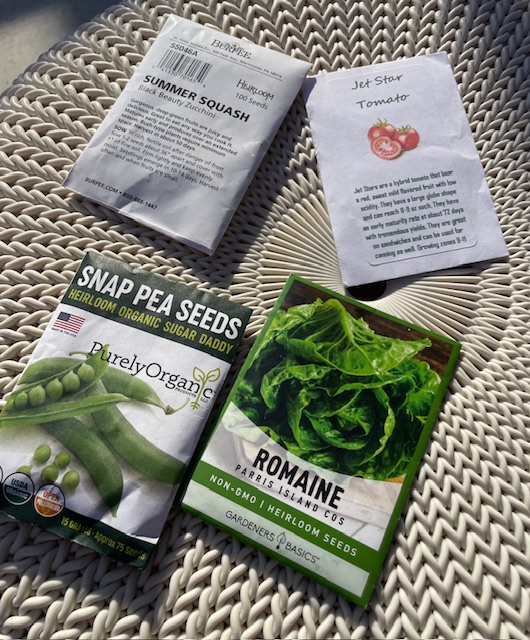
As for the herbs, we opted for: Rosemary (easy marinade ingredient), Basil (pesto staple and salad dressing add-in), and Cilantro (salsa all day). Herb seed packets are more common so feel free to pick up when you see them; Reliable and well known seed brands include: Burpee, Back to the Roots, and Seed Needs.
Some optional items as well:
- Watering can – Useful to make fewer trips to the sink and have a physical reminder to water.
- Trowel – Dig into the soil with this. You can pour it directly into the pot and use your hands but useful to have around.
- Gardening Mat – Easy to use and helps to utilize all the soil. Quicker clean up, too. Wish I used this!
- Gloves – Your hands will get dirty…unless you have gloves.
Step 2: Choose a Sunny Spot
The best place for your plants is in the sunniest outdoor spot, but if you have limited outdoor options, feel free to put the containers in a sunny indoor area. With container gardening you have flexibility of where the plants can go.
Any area that gets tons of sunlight, is visible to you, and is easily accessible will work. Sunlight is secondary to access to the plants. If you don’t go to the area where the plants are sitting, the odds are that they won’t be watered consistently and then the amount of sunlight the plants get will matter less. It’s better to have slightly less sunlight, then to never water them after the first week.
Step 3: Set Up the Pots with Good Soil
Once you’ve gathered all the materials and determined where the pots will go, it’s time to set up the vegetable garden starting with the soil. Open up the potting soil bag and fill each of the containers full to about 2” from the top of the container. This potting soil mix is one that is well known to keep plants happy. Since the potting soil is pre-made with nutrients, there is no need to add specialty fertilizer to it.
Soil quality makes a difference in keeping plants healthy and thriving. Different types of plants need different soil conditions and vegetables, specifically, need a mix of nutrients, aeration, and drainage. Potting soil identified as “garden soil” or a “moisture control potting mix” tends to work well with vegetable gardens in containers.
Step 4: Go Easy On the Number of Seeds
Now that the containers are set up, it’s time to set the seeds into the soil. There are a few options to get seeds to germinate and sprout. Some people like to use seedling trays to help the little seeds grow. These trays are small and can be moved easily to bright sunny spots and require less soil, but since we have the containers the plants will eventually grow in, we’re going to plant the seeds directly into these larger containers.
Each pot will only get a few seeds into soil:
- 12” pot: Tomatoes: 6 – 10 seeds
- 12” pot: Zucchini: 5 – 8 seeds
- 10” pot: Peas: 5 – 8 seeds
- 12” pot: Lettuce: 3 – 5 seeds
Gently shake the seeds on top of the soil directly from the packet (use a light shake or you will pour the entire packet out accidently!), push down gently with your finger, and cover it with a sprinkle more soil on top. You can add a few more seeds but these plants grow fairly readily and we don’t want to crowd the plants when they get larger. (Save the extra seeds for an additional planting.)
Next, divide the rectangular pot into three equal sections and then add seeds into the middle of each section about 2” to 4” in a line:
- Rosemary: 8 – 10 seeds
- Basil: 8 – 10 seeds
- Cilantro: 10 – 12 seeds
Don’t worry that the seeds won’t germinate! Seeds from the packet are fairly consistent in growing. The companies that we’ve identified here are ones that have been in the industry for awhile and are well known for quality.
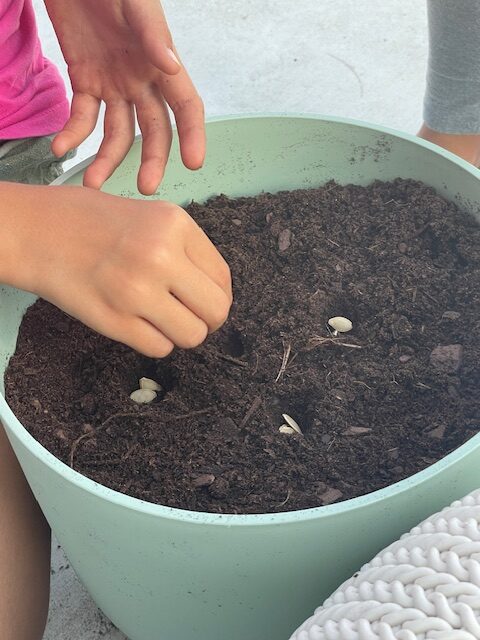
Step 5: Water Your Plants
There are two ways to maintain the watering schedule for the vegetables and herbs in your new container garden:
- Traditional watering – once a day
- Utilize self-watering planter pots – once a week; possibly twice a week if it’s humid out
Depending on what you chose in the first step, your watering schedule will vary. If you chose the more hands-on, traditional method for watering, getting water to your plants will be an almost daily activity. Some people like to see their plants grow and “visiting” them every day to water can be a fun activity. Watering in the morning is a good option as it gives the plants a chance to use the water with sunlight to grow as much as possible.
If you’ve opted for the self-watering option, adding water to the pots will only need to occur once a week. Self-watering pots have a reservoir section under the main compartment where the plant and soil is held – so all you have to do is maintain that the water well under the plant never gets too low. The water in the reservoir will continually keep the soil moist and in good shape for plants and vegetables to grow.
Once the soil has seeds planted, go ahead and water the pots lightly with the watering can. How much is “lightly”? Enough water to cover the entire planter’s surface and seep into the soil: 1 – 2 cups per pot. If you see tons of water draining out of the bottom of the pot, you put too much water. If you don’t have a watering can, feel free to refill an old milk jug or just use a plain ol’ plastic cup. It doesn’t have to be fancy, just get the job done with as little mess as possible and the fewest trips back and forth to the sink.
If you are using the self-watering planter pot, go ahead and fill the reservoir to capacity. The herbs on the window sill and tomato plants are great choices for using this type of planter. (Feel free to mix and match the self-watering pots with traditional pots as an experiment to see what you prefer.) It becomes even more low maintenance and minimizes watering to once a week to ten days instead of every other day.
Step 6: Set a Timer to Water the Plants in the Morning
Watering the plants in the morning gives the plants time to utilize sunlight and water together in the most amount of time for growing possible. This will help the plants to germinate and grow quickly.
Set a timer on your phone or watch for the morning (7 or 8 am works well) to water the plants consistently. If you decide to use the self-watering pots, set the timer for once a week.
Step 7: Watch Your Plants Grow 🙂
Give your container garden two to four weeks and you will start to see little green sprouts poking through the soil.
Hurray!
Harvesting will take at minimum a month and half so enjoy watching them grow! Pretty soon we will have delicious vegetables and herbs to enjoy!
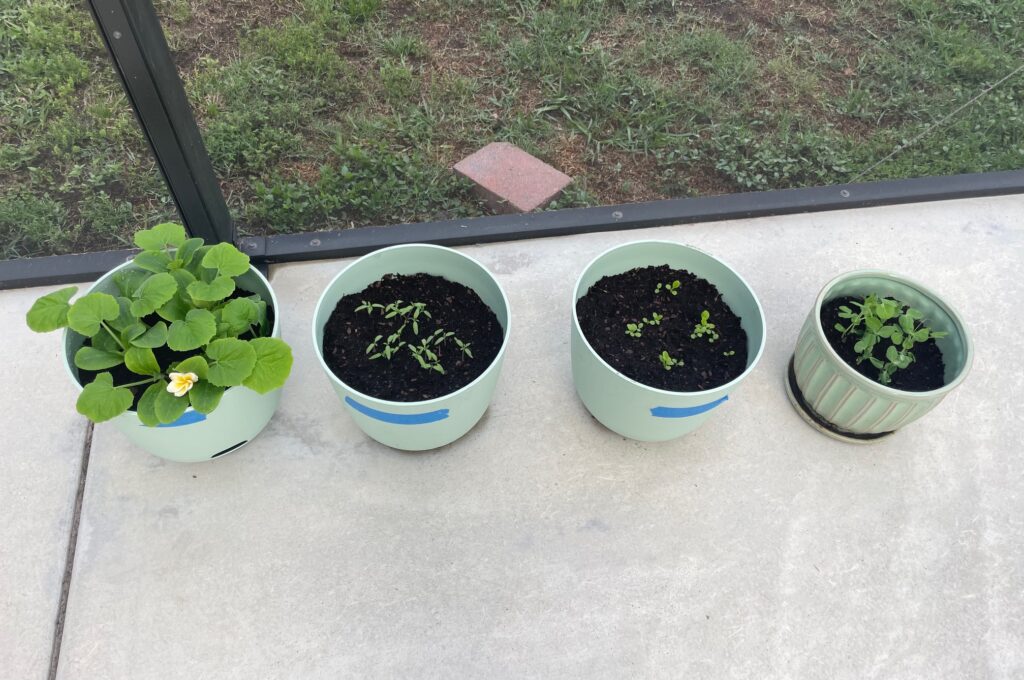
Here We Go!
Will all of this work out perfectly?
Probably not but we will get a harvest in the end.
Don’t worry, we will refine these instructions and share photos as we have lessons learned along the way.
All in the name of having a better start to container gardening and trying new things.
Check back in a few weeks to see how the planting is going.
Looking forward to sharing photos, progress, and recipes!
Join me and comment below with the date you started.

